Wood Stain
Wood Stain
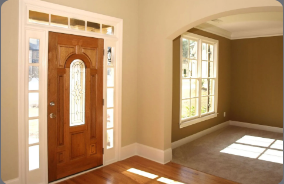
Staining any interior wood is a great way to get more enjoyment out of your home or office. Whether you're looking for a professional painting company, or maybe just want to do it yourself, staining interior wood can add charm and character to your doors, trim and molding cabinets. Creating a beautiful stained look doesn't have to be complicated or expensive. With some preparation and patience, you can easily achieve an even and long lasting finish on all your woodwork.
When you’re looking to change the look of your wood trim and doors, one of the quickest and easiest ways is to switch up the wood stain color. It doesn’t matter if you’ve got a contemporary home or a country cottage, a new coat of stain can add depth and character to those beautiful pieces in your space. But before you get started, there are a few things to consider when choosing the right stain for your project.
Think about what kind of effect you want to achieve with your staining job. Do you want something more subtle that will just enhance the existing wood grain? Or would you like a more dramatic result that brings out bolder colors in your trim? Once you have an idea of what type of finish you’d like, it’s time to choose from the different wood stains available on today's market. Visit your local paint store and don't be afraid to ask lots of questions.
Once you've narrowed the choices down and made your selection, there are a few steps you can take to ensure that the results will look great.
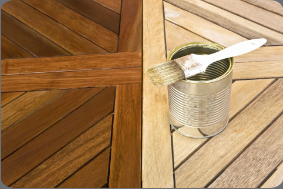
First, if you are staining new wood, thoroughly clean any dirt and grime off of the wood surface. This will help create a better base for the stain and allow it to penetrate more deeply into the wood grain. Once that is done, use sandpaper or a fine-grit steel wool pad to smooth out any rough spots. This will also help ensure that your stain goes on evenly across the entire surface you're working with. Wipe off any dust with a damp cloth and get ready to apply the stain.
There are two ways to apply stain...Brush or Cloth Rag.
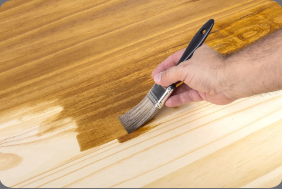
With brush...start by choosing a brush that fits your project. Natural bristle brushes are ideal for staining, as they hold more liquid and allow for even coverage on larger surfaces like doors and frames. For smaller projects like trim work, synthetic bristle brushes will give you greater control and precision. Make sure your brush is wide enough to cover areas quickly but small enough so you won’t have excess stain running down the sides of your object.
When using a cloth rag, be sure to pick one that won’t leave lint behind on the wood surface. An old cotton t-shirt works well - just cut off the top portion of the shirt and use it as your rag! Once you’ve got your chosen fabric, start by lightly sanding down any rough patches in your wood trim or door with some course-grit sandpaper. This will help ensure that the stain absorbs evenly into the wood grain when applied. Dip your rag lightly in the stain, then begin wiping it onto the surface in long strokes along the grain of the wood. For a deeper staining, adding a second coat will give more richness to the wood.
However, if you’re looking to stain wood that is already painted, the process becomes a little more involved than simply picking out a shade of stain and applying it. Before you start staining previously painted wood, there are some important steps you need to take.
To begin with, you’ll need to use a paint stripper or remover in order to remove any existing coatings on the surface before sanding and staining it. This can be time consuming but necessary in order for the new stain to penetrate properly into the wood grain. Make sure when using any chemical removal solutions, always wear protective gear like gloves, eye protection and clothing that covers your skin entirely. When the paint is removed, follow the previous mentioned steps to a beautiful finish.
When it comes to stain and wood trim, a common question that's often asked is whether or not you should seal it. It's a great question, and one that can be easily answered once you have the right information. The decision to seal your wood trim and doors depends on the type of finish and if there are any environmental factors present. A sealant provides protection from moisture, dust, scratches, and other weather-related elements.
No matter what type of finish your wood has—stain or paint—the decision to add an extra layer of protection with a sealant is ultimately up to you. If you live in an area that experiences high humidity levels or extreme temperatures, then applying a topcoat may be necessary for keeping your wood trim looking its best over time.
If you're considering staining your trim or doors, make sure to factor in the cost of a sealant into your budget as well. It's worth it in order to ensure long-term protection and keep your newly stained finish looking its best!
Start by using light sandpaper on the trim pieces before applying stain with a brush or rag in long even strokes until the desired color is achieved. If necessary, use a second coat for more depth of color. Make sure to allow adequate drying time between coats for best results! And now that you've finished it's time to enjoy your beautiful woodwork.
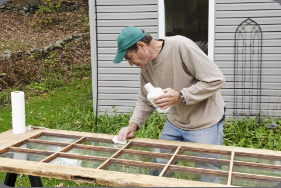
But, if that all seems like a lot of work and you would rather watch someone else do it...
Call the trusted professionals...
the Painting Pros of Mentor
at 440-535-1470
and we'll handle everything from prep to clean-up.